Generate UI - IFML-to-React UI Generator
In this section, we will go through additional steps for using the IFML-to-React UI Generator Plugin.
1. Create an Empty Folder
1. Create a new project folder that will contain the generated front-end application code.
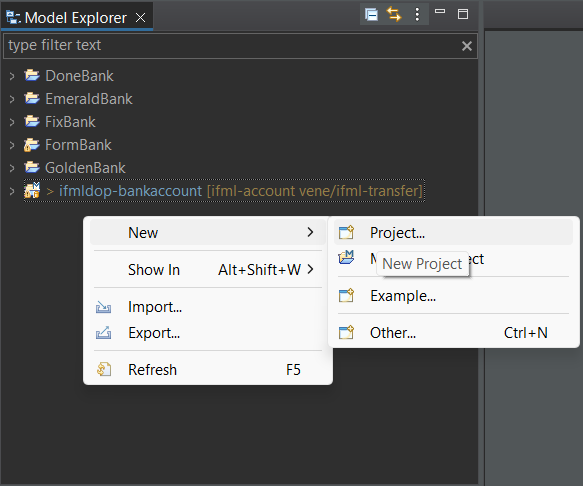
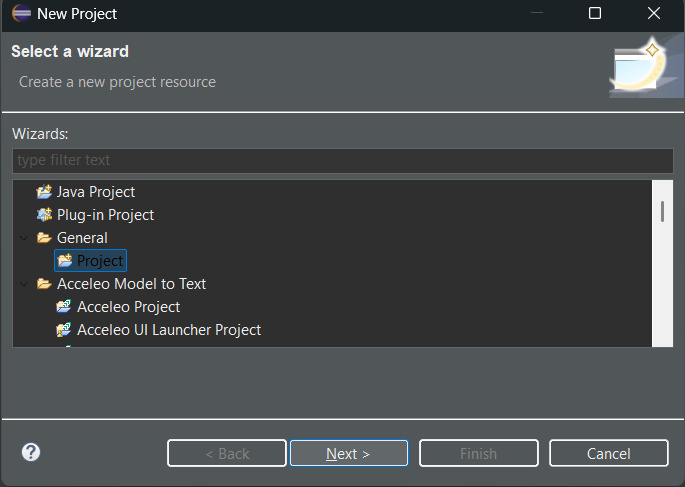
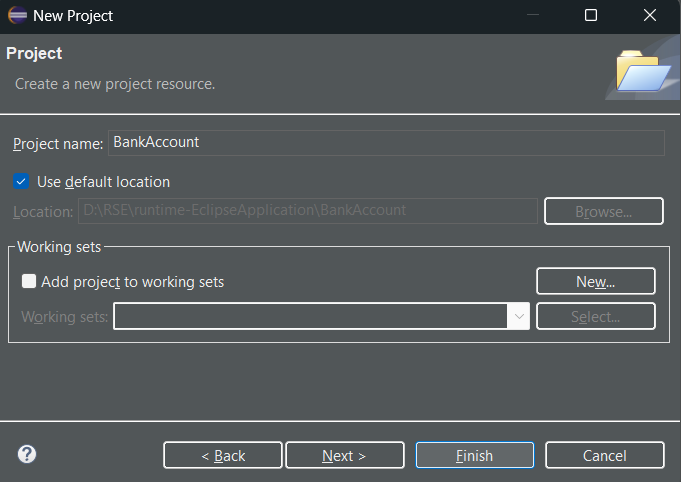
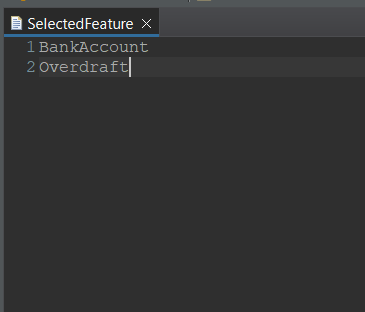
2. Add an empty file named SelectedFeature (case-sensitive) inside project folder that already created.
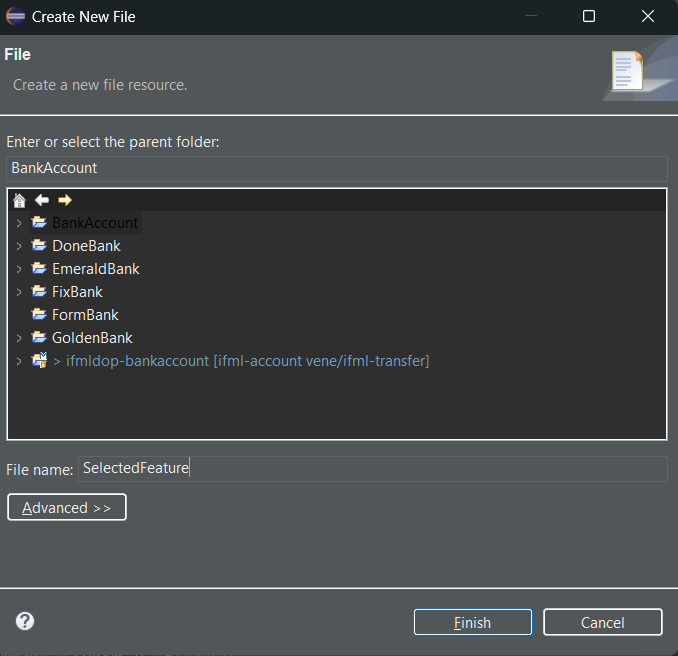
3. Fill in the SelectedFeature with the feature that will be generated from your model by new line each feature.
2. Generate JS Application
⚠ Prerequisites:
Ensure that SelectedFeature has been generated.
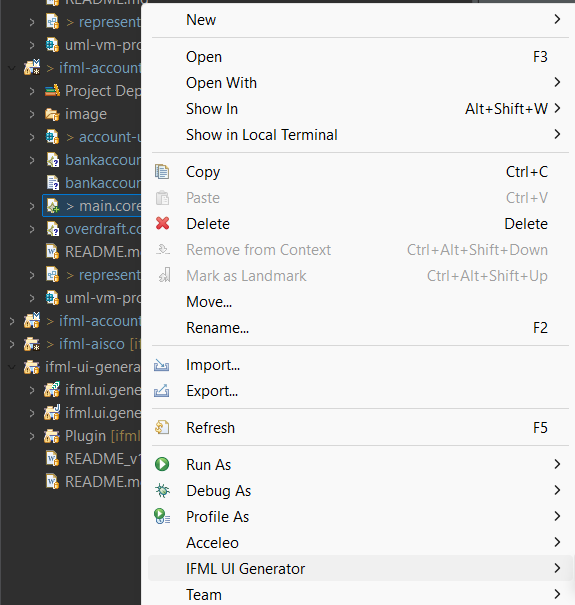
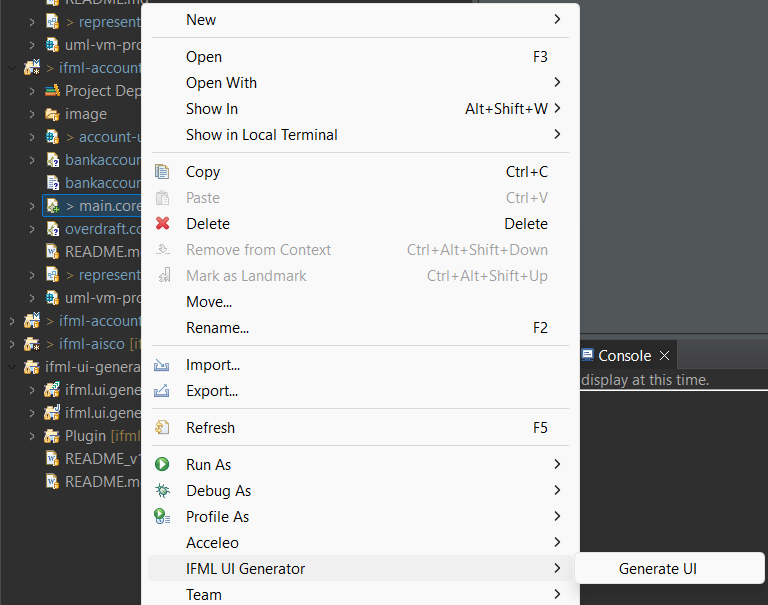
1. In the workspace, right-click on the core IFML model you want to generate (.core file).
⚠ Why is my app folder not showing as an option?
Only folders containing a SelectedFeature file are listed. Check if prerequisites are completed.
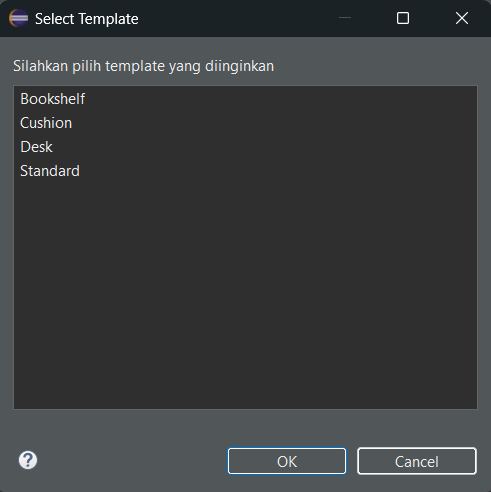
4. Select one of the available UI variants. For the default UI, choose Standard.
⚠ Can I rename my site later?
Currently, no. You can repeat Steps 4-8 to regenerate the UI with a new site name.
6. Once completed, find the generated front-end code in your app folder.
3. Running the Generated React Vite Application
1. To run the application for the first time, install dependencies:
npm install
2. Next, rename the .env.template into .env
3. Then, start the React application:
npm run start
4. Open a new terminal and start the Static Server on localhost:3003 (only required if modifying static pages):
npm run json:server
5. Your website will be accessible at http://localhost:3000.